> For the complete documentation index, see [llms.txt](https://docs.tread.fi/llms.txt). Markdown versions of documentation pages are available by appending `.md` to page URLs; this page is available as [Markdown](https://docs.tread.fi/enterprise/self-hosted-service/aws-cdk.md).
# AWS CDK
Infrastructure as code for All-in-One setup. Have everything up and running in just a few minutes.
### One-step Deployment
*Note: If you have no registered domain under AWS, follow the steps below under* [***Register Domain***](#register-domain-optional)
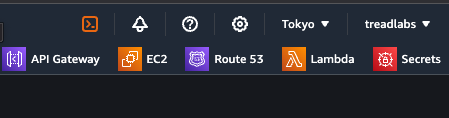
Go into AWS CloudShell (left-most icon on the navigation bar in AWS console)
**Run the following:**
```
git clone https://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@github.com/tread-labs/cdk_example.git && \
./cdk_example/scripts/run.sh
```
Follow the prompts with the information below.
| Field | Description |
| ----------- | ---------------------------------------------------------------------------------------------------------------------------------------------------------------------------------------------- |
| License Key | The unique key given to access the app. |
| Domain Name | Your registered domain name (ex. tread.fi) |
| Region | [AWS region code](https://docs.aws.amazon.com/AWSEC2/latest/UserGuide/using-regions-availability-zones.html) for the region your app will be deployed to. Defaulted to ap-northeast-1 (Tokyo). |
**Note: If you already have infrastructure in this region, you might run into an IP limit (default is 5).**\
**The above command will tell you if there aren't enough IPs and automatically request it for you.**
You can also do it yourself in the AWS console at:
{% code overflow="wrap" %}
```
https://{region_code}.console.aws.amazon.com/servicequotas/home/services/ec2/quotas/L-0263D0A3
```
{% endcode %}
#### Domain Input
You will be asked whether you want a subdomain created if you say yes it will create one at:
`https://taas.{your_domain_name}`
Otherwise it will assume the domain inputted is exactly the domain that will point to your newly provisioned public IP. i.e. `https://{your_domain_name}`
A proxy service will be deployed along with the app to automatically handle SSL\
\
**Gotcha #1:** If you don't create a subdomain with CDK and you create it separately, the SSL certificate creation could fail.\
\
You will have to SSH onto the machine and re-deploy everything from a clean slate:
```
cd /opt/taas
docker compose down -v
./start.sh
```
### Creating Users
#### With Sign Up
By default sign up is enabled so you can create an account and jump in right away.
To disable it you must run the deploy without the sign\_up\_enabled flag. Remove the flag by editing the deployment script at /opt/taas/start.sh and removing the following from the curl body and running it to deploy again:
```
sign_up_enabled: "TRUE"
```
#### With Admin User
The web app is a Django web app and an admin user can be created to create and manage users.\
Contact us to help you with creating one if needed.
### Register Domain *(Optional)*
**Skip if you already have a domain registered in AWS Route53.**
* Go to Route 53 -> Left Side Bar: Registered Domains -> Register Domains
* Follow the form to purchase a domain - (Only do Step 1), this creates a Hosted Zone for you
* If you already have a domain in a different provider, you can delegate it to AWS:
* Go to Route 53 -> Left Side Bar: Hosted Zones -> Create Hosted Zone
* Fill in Domain name for the domain you already own (ex. thisismydomain.com), Hit "Create hosted zone"
* Click into your newly created hosted zone, there should already be an NS and a SOA record
* Take note of the 4 values for the "NS" record and change the name servers for your existing registered domain for your DNS provider
## Local Setup
Ideal for maintaining the infrastructure long term with cdk.
### Create Admin User
* [ ] Create admin user
* Go to IAM -> Users -> Add Users
* Set a name like "CDK" or "Admin", hit Next
* Select "Attach policies directly"
* Search "AdministratorAccess" in the search bar
* Check the checkbox beside it, hit Next and "Create User"
* [ ] Create access keys to use with AWS CDK
* Click into the user you just created
* Select the "Security credentials" tab
* Scroll down to "Access keys" and hit "Create access key"
* Select CLI use case, check confirmation checkbox, hit Next
* Hit "Create access key"
* You are shown **access key** and a hidden **secret key**, you won't be shown the secret key again so write it down or save it in a secure location along with the access key
### Set Up Your Local Environment
You are setting up this environment only to run the CDK package, typically from your personal laptop or work environment.
* [ ] Install Node -
* [ ] Fork and clone the CDK repo for your use - \
Ask us for access to this repo.
* [ ] (Optional) Install VS Code (great IDE that works out of the box for typescript) -
* [ ] Go to the repo directory and run
```
npm install -g typescript
npm install -g aws-cdk
npm install
```
* [ ] Configure your AWS credentials
* `aws configure --profile cdk`
* Follow the prompts and copy in the **access key** and **secret key** obtained from creating a user above, leave the rest of the config as None
* Set the profile for your current terminal session `export AWS_PROFILE=cdk`
* It helps to save the config as a profile to skip the hassle of recreating and configuring access keys that you've lost because you're switching between access keys for various use cases for AWS CDK and AWS CLI. But you will need to remember to export the AWS\_PROFILE environment variable for the profile you want to use.
### Manual Stack Deployment
Refer to the [official docs](https://docs.aws.amazon.com/cdk/v2/guide/work-with-cdk-typescript.html#typescript-running) if you are unfamiliar with cdk.
You **must** deploy in this order due to dependencies:
1. TaasPersistenceStack (will also deploy TaasVpcStack first)
2. TaasMonitoringStack
3. TaasServiceStack
## Update to the Latest Version
To deploy the latest version, access your instance directly via SSH and run a curl command to hit our endpoint that provides a docker compose setup script.
Refer to the [docs](/enterprise/self-hosted-service/app-configurations.md) for how to structure the curl command.\
If you ran the quick start script above, a script is already created for you at `/opt/taas/start.sh`
#### SSH via AWS Console
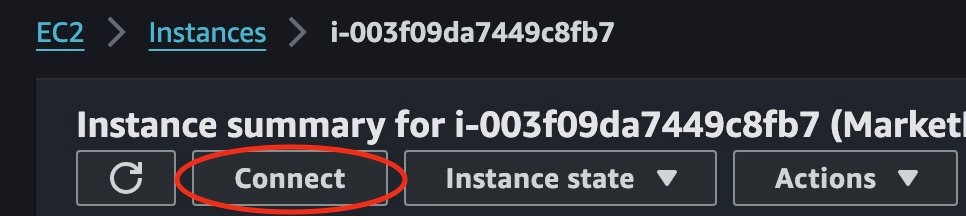
Go into your AWS Console: EC2 -> Instances -> Click into instance (link under instance ID) named something like "TaasServiceStack/AIO-Instance"
#### SSH via Command Line
SSH requires a key file which can be retrieved from AWS Secrets Manager
* There is a secret named `taas-core-db-credentials`
* Look at the details and Click "Retrieve Secret Value"
* Take the contents and put it into a file named "TAAS-keypair.pem"
* `ssh -i "TAAS-keypair.pem" ubuntu@{your_instance_public_dns_name}`
## Tear Down Infrastructure
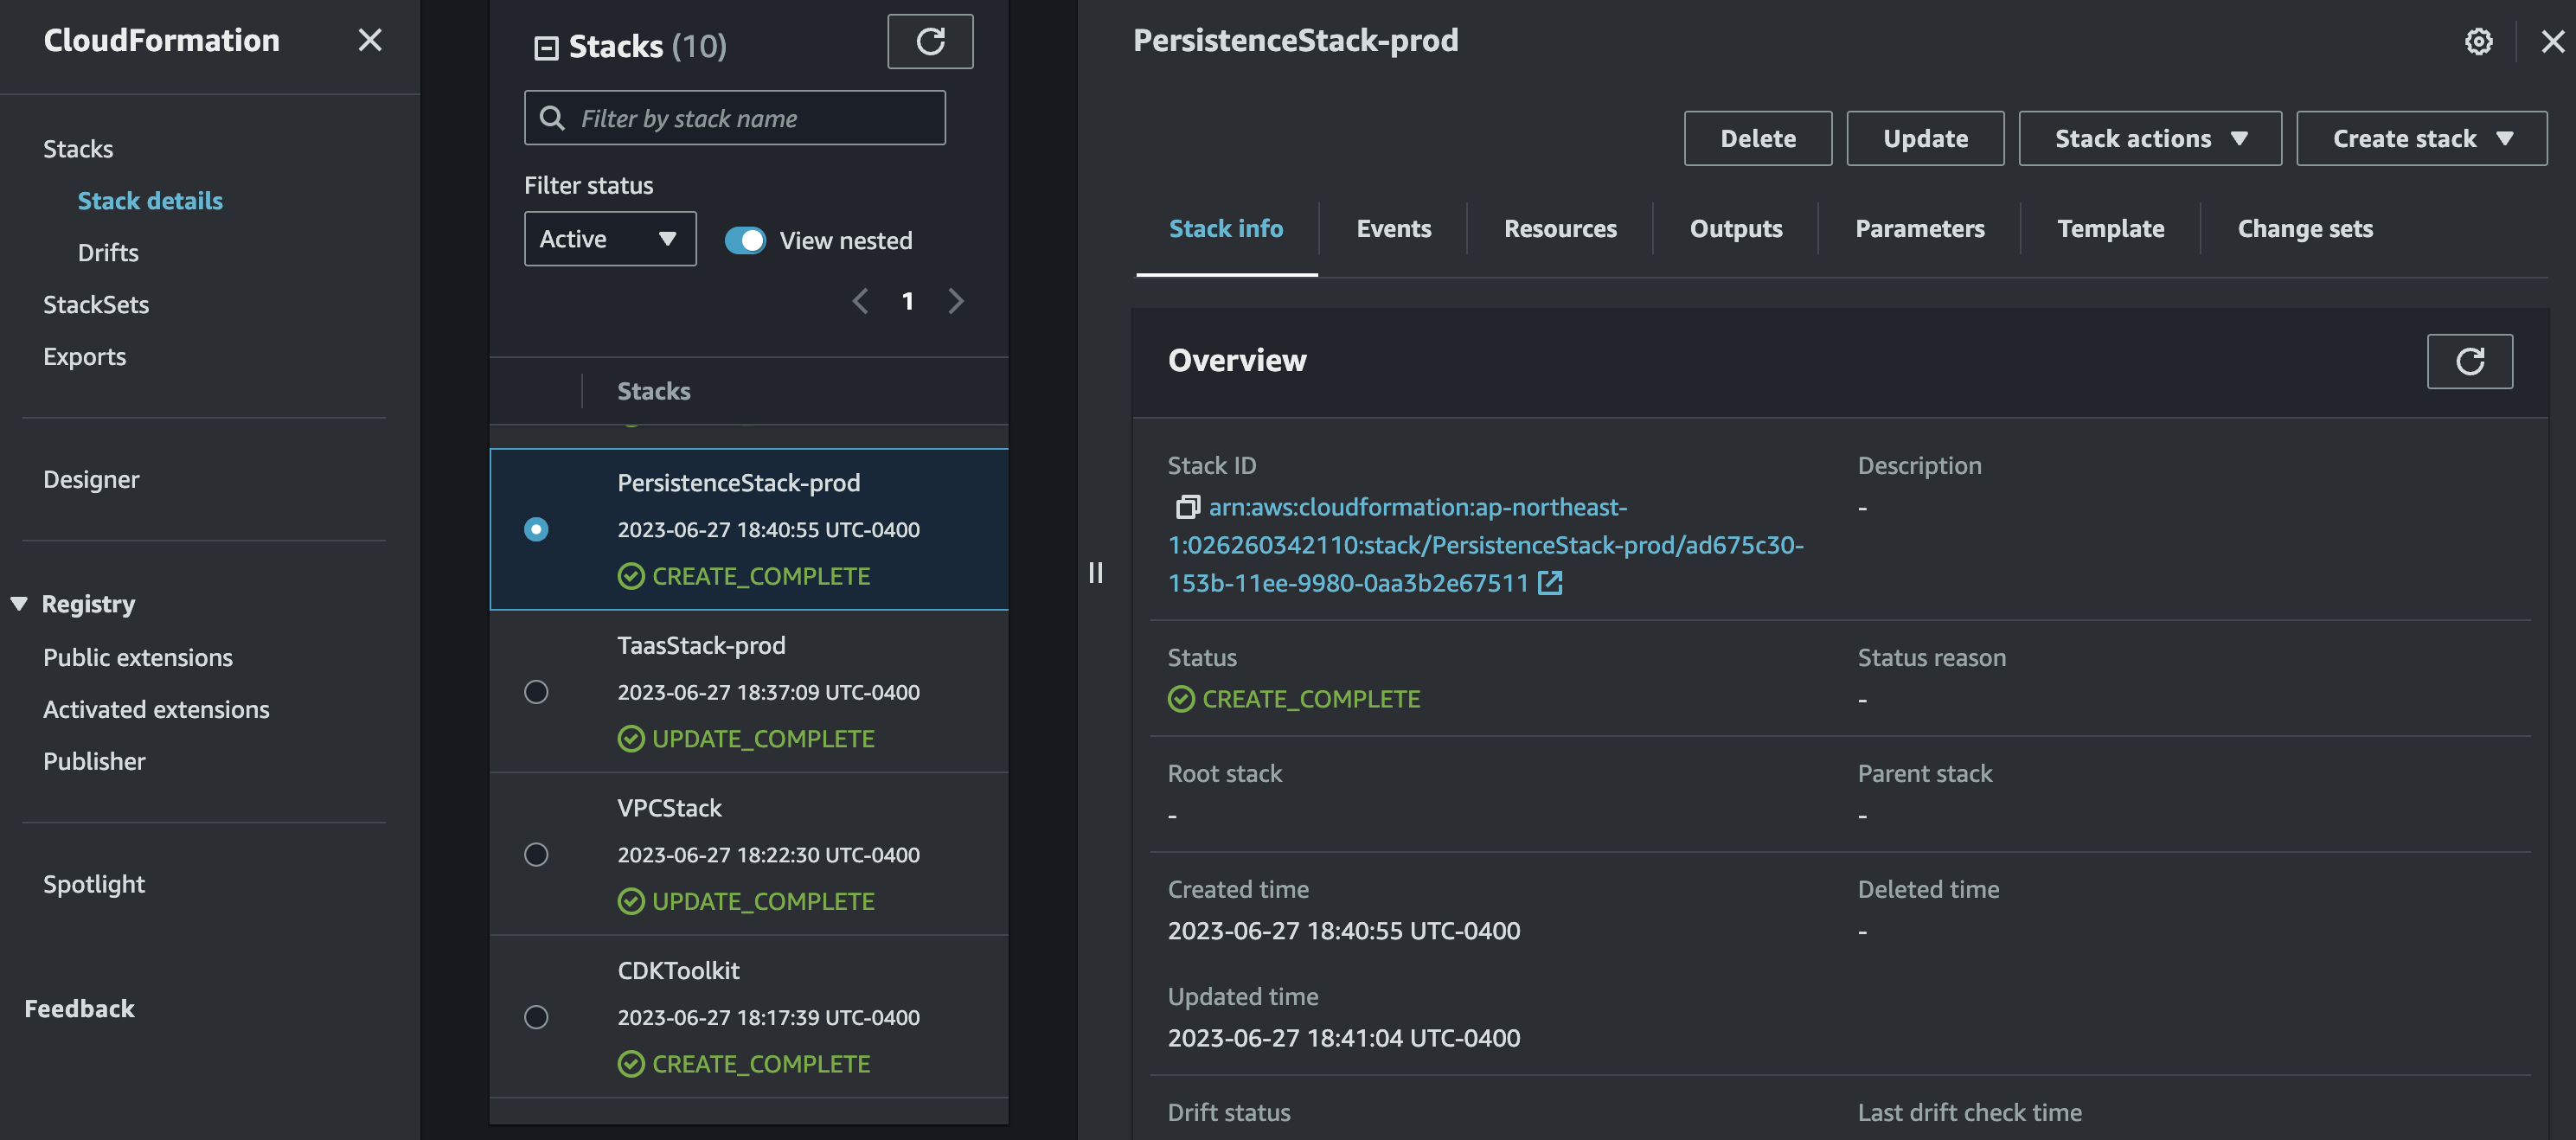
1. Be in the right region and go to Cloudformation:
2. Delete 4 stacks in this order: TaasPersistenceStack, TaasServiceStack, TaasVPCStack. TaasMonitoringStack can be deleted anywhere in the order.
3. Delete a stack by selecting the stack in the middle column and clicking the "Delete" button on the right.
4. Wait for it to complete before deleting the next one.
5. If it fails to delete, go into the "Events" tab on the right and send us the error message. We will troubleshoot from there.